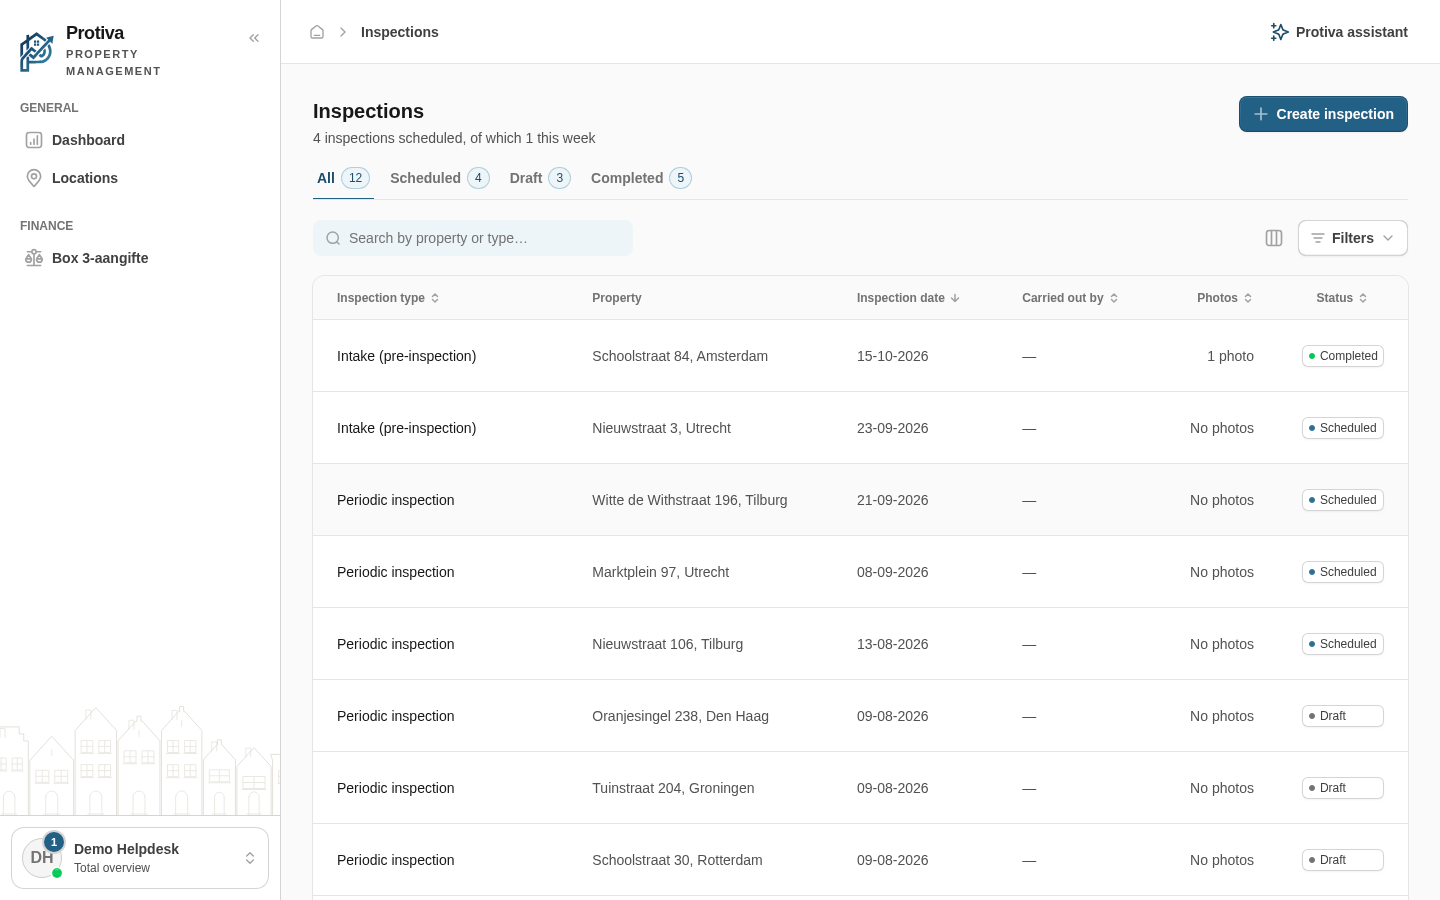
Add, view and delete photos for an inspection
Visually document the condition of a property by adding photos to an inspection, viewing them in an enlarged lightbox and deleting them when needed.
Add photos
Go to Inspections;
- Click the inspection you want to add photos to;
- Scroll down in the detail pane to the Photos section;
- Click the upload area Click or drag photos here or drag one or more images onto it;
- Review the list of selected files and remove any file by clicking Remove;
- Click Add photo to upload the photos.
View photos in the lightbox
- Click the thumbnail of a photo in the Photos section;
- Browse through the photos using the Previous and Next buttons;
- Click Close to close the lightbox.
Delete a photo
- Open the inspection in edit mode;
- Click the three-dot menu on the photo you want to remove and choose Delete;
- Confirm the deletion in the dialog by clicking Delete.
Deleted photos cannot be recovered. Photos can only be uploaded and deleted when the inspection is in edit mode; for a completed inspection, click Reopen first.